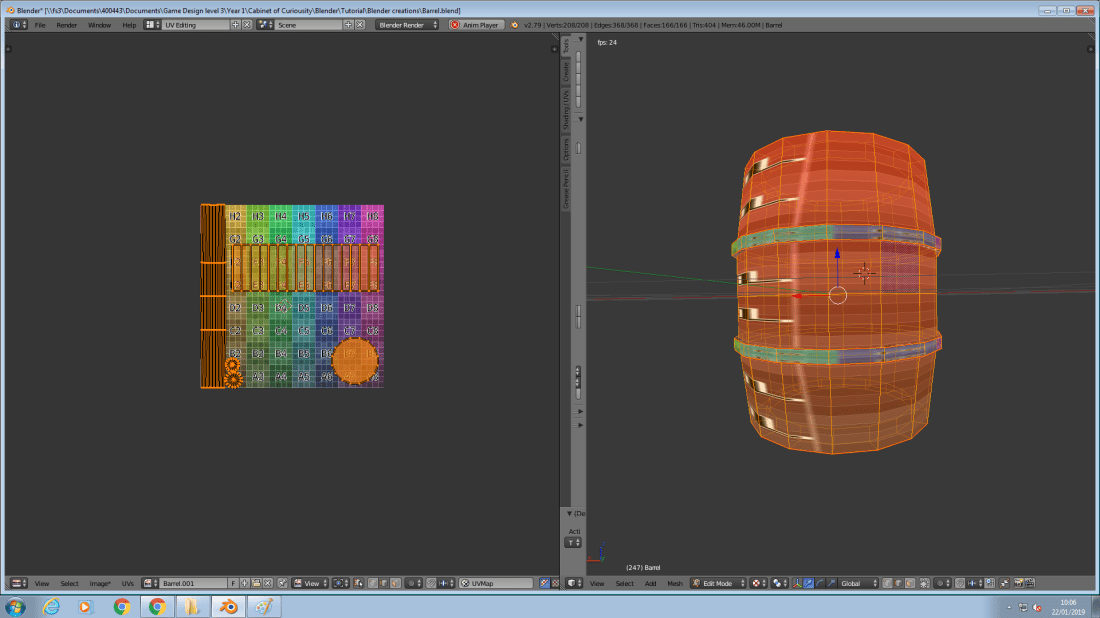
Today I learned how to render a texture in Blender. I opened up the UV Editing mode, then selected the top and bottom rings of the barrel. I then marked the seams. I then selected an edge of the barrel and marked that to. I then unwrapped it with the UV menu with the U key.
I did this for the rings too, but turned off sync and then rearranged them to make sure they don’t overlap.
I then created a new image, removing alpha and changing the Generation Type to Color Grid.
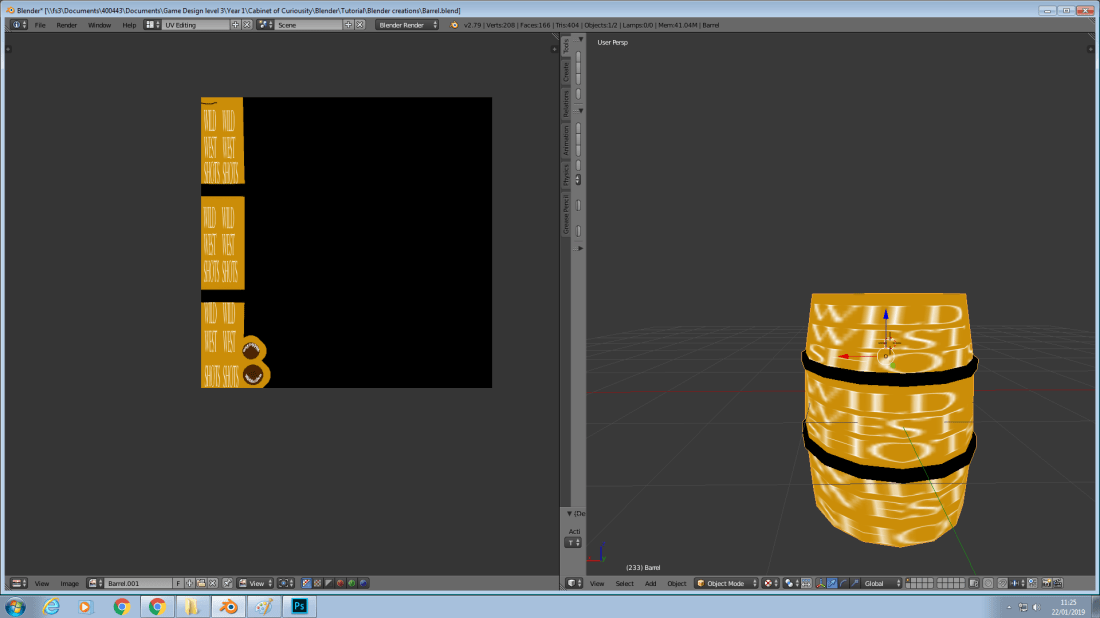
I then went to the Rendering section in the Properties window and went to Bake, then I changed the bake mode to Ambient Occlusion to add in automatic shading and clicked bake. I then went back into the rendering file and saved the rendered barrel as a PNG file, modified it in Photoshop and overwrote the saved file and re-opened Blender. I then reloaded the image and got my rendered image.
Unfortunately the render didn’t turn out correctly, because I marked it incorrectly, but I will need to keep practicing that.