To start the barrel rendering I needed to change the Blender mode to Cycle Render. This is done to make the rendering have higher quality and give me certain options.
I then opened the Node Editor, selected a material and clicked Use Nodes (forgot to take a screenshot, so recreated it):
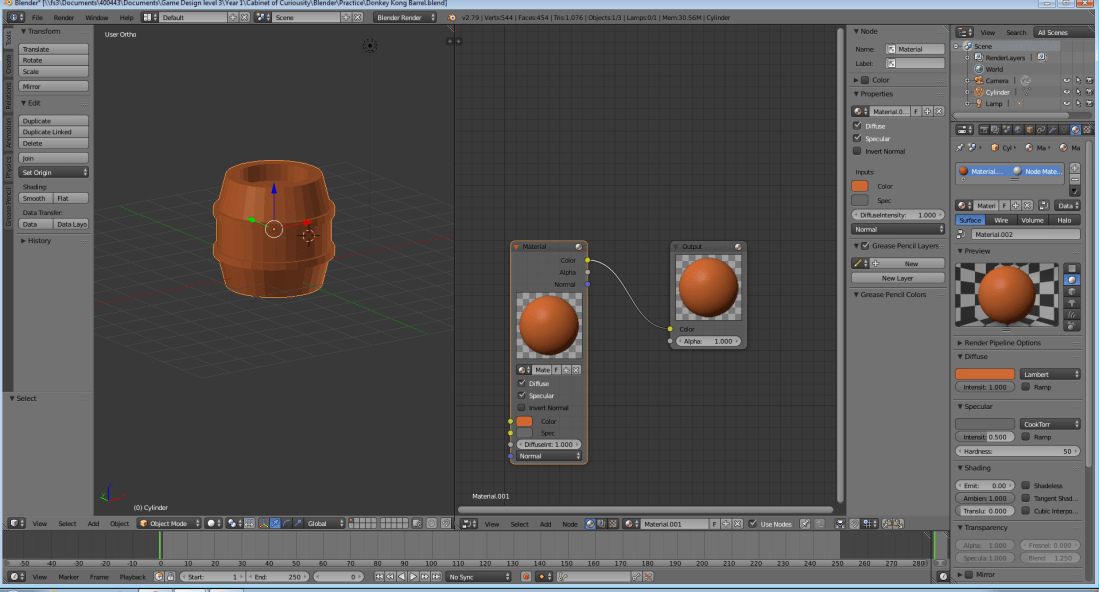
I then added an Image Texture panel and inserted my UV texture image. Then I opened my barrel ring material and enabled nodes. I then added in a Glossy BSDF and combined the two with a Mix Shader node, so I could use them both for the surface material.
Afterwards I went to object mode and hid the node editor. I then added in planes and relocated them, behind, in front and the side of the barrel tilted and raised off the ground. I added and assigned an Emission material for the surface; this makes it glow.
I then went into render mode arranged the barrel and selected View –> Align View –> Align Active Camera to View, then adjusted the view and then clicked on the camera object, Render and then adjusted a few options and clicked Render, a little while later I had a rendered image:
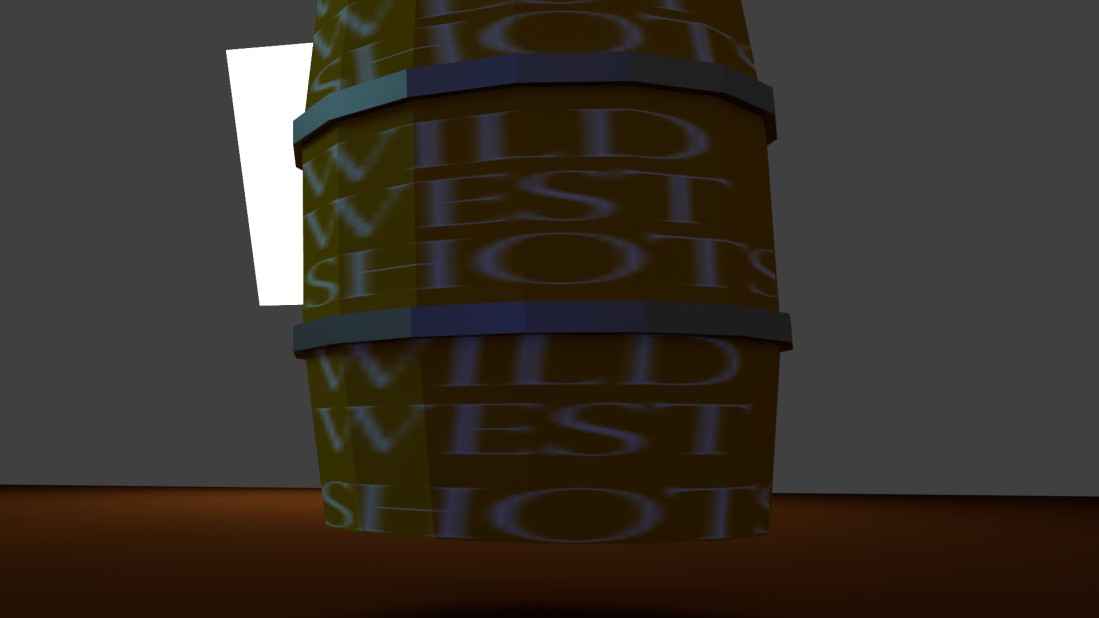
I did the last render quickly, because I was short on time and later on I was shown why a high sample rate is useful:


